
When logging into HoudiniEsq for the first time, the HoudiniEsq Quick Setup will guide you through the initial steps of configuring the application. While this process is mostly self-explanatory, this KnowledgeBase article will provide additional information should you need it to walk through the process.
The Quick Setup wizard will only be displayed the first time you log in by default. If you wish to run the wizard again, you can add “&wiz=Y” (minus quotes) to the end browser address bar to view the Quick Setup again at any time.
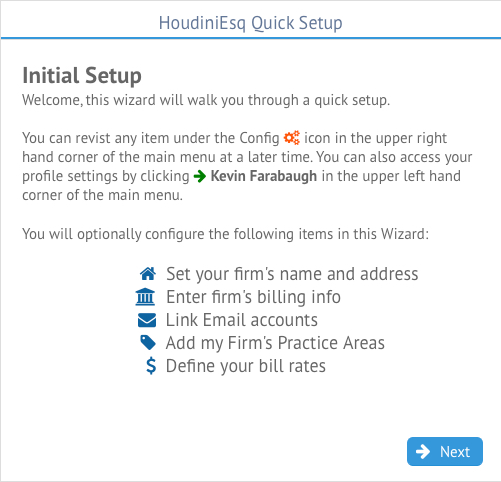
Additionally, all the items contained in this wizard can be manually configured through the Settings Dashboard as well as your Profile. Click Next to continue to the first screen of the setup.
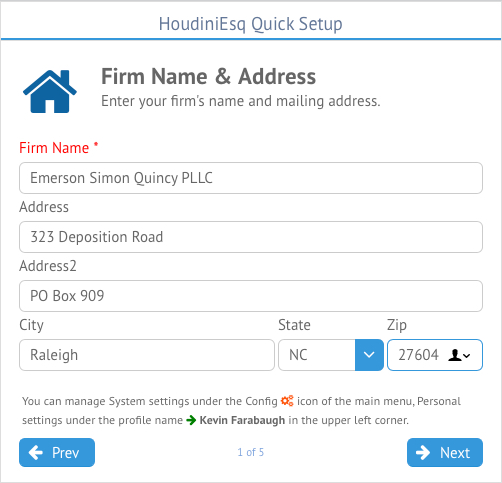
The first screen of the Quick Setup allows you to define your firm name and address. This will be used as your mailing address; we will set up your billing address in the next step. Click Next to continue.
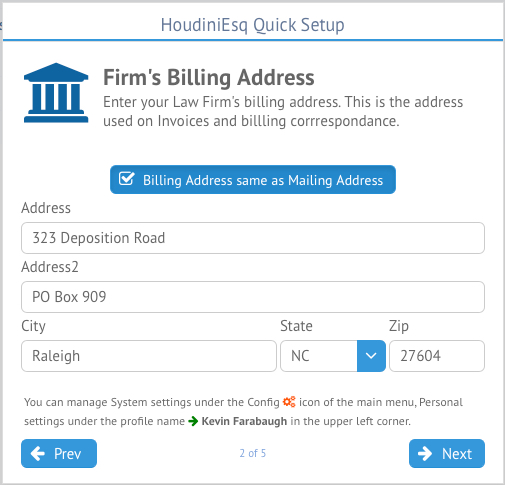
The next screen will allow you to set up your Billing Address. If this is the same as your Mailing Address, you can click the checkbox at the top of the screen to automatically populate these fields.

Next up, we can set up a personal email account. This step is optional, and if you are using the Outlook Add-In it is recommended you skip it and simply use the plugin to manage your linked emails. However, if you wish to set up a connected email account at this time click the “Add” button to go to the Email Setup screen. Once finished, click Next to continue.
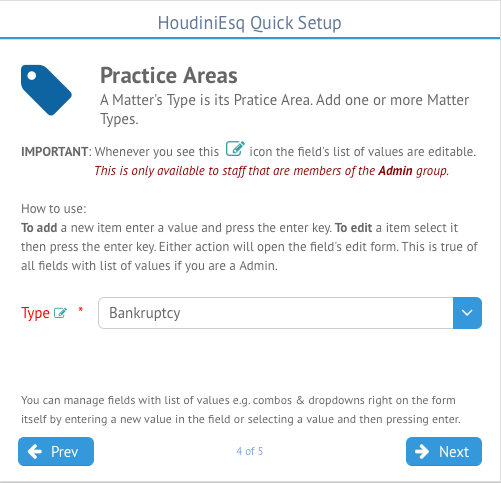
In the next screen, we will be able to set up our practice areas, or as we call them in HoudiniEsq “Matter Types”. This section also serves as an introduction to Classifications in HoudiniEsq. Simply type the practice area you want to add into the drop-down box in the center, and press Enter. For more information on classifications and modifying them in HoudiniEsq, visit this KnowledgeBase article. Once ready to proceed, click Next.
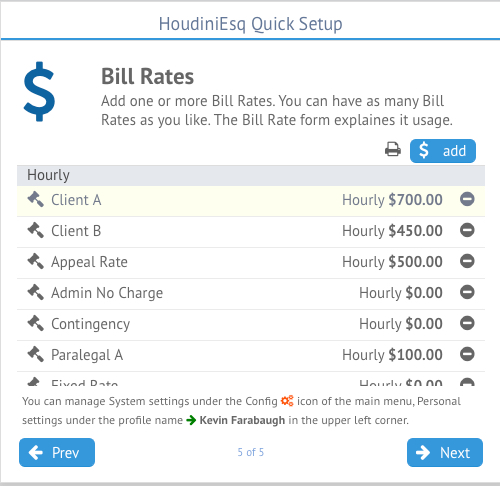
This screen allows us to add or delete Bill Rates. These rates are specific to your Staff login, and can be configured as Hourly or Flat/Occurance Rates. To remove a rate from the list, click the (-) next to it.

To add a rate to the list, click the Add button to open the New Staff Bill Rate window. This will allow you to add a Rate name or select a current one, and change the Rate Type and Amount. Once finished, click the checkmark icon at the top right. For more information on Bill Rates in HoudiniEsq, visit this KnowledgeBase article.
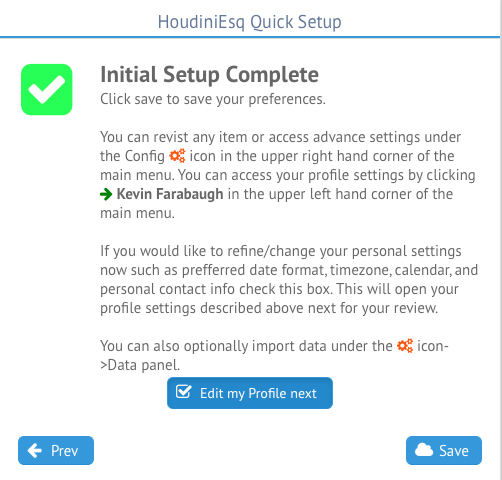
The final screen of the Quick Setup wizard will serve as a simple reminder that you can change any of the entered information though the Settings Dashboard or your Profile. Once the wizard is closed, it will automatically open your Profile unless you uncheck the center box. You can always click the “Prev” button to edit any screen on this wizard you had previously visited as well.