
 Create Event
The next action that is listed from the left is the Create Event action. This will allow you to schedule a calendar Event for a specified Staff, Matter Member or Staff Group. Automatically generated Events will be displayed in the Calendar as well as the Event panel of the Matter and Activity Dashboard. Select this action to add it to the trigger.
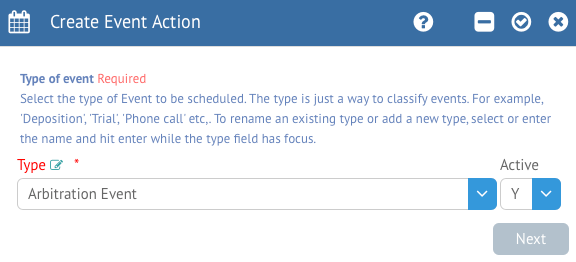
The first step is to set the Type of Event that will be created. As always, you can simply enter a new Event Type at any time by typing the name and pressing the Enter key; you can also press Enter to modify an existing Type as well. You can toggle whether this trigger action is currently active or not with the appropriate field as well. Click Next to continue.
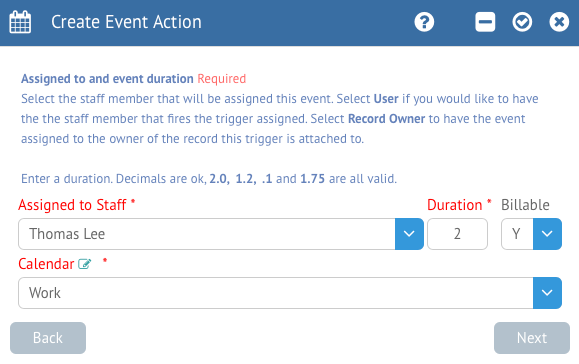
Next, we will determine which Staff member this Event is assigned to, the Duration and whether or not the Event is billable. All Events created by trigger action which are billable will use the default Matter Rate for the record that it is assigned to. Assigning the Event to “User” will set the Event assignee to the Staff member who fires the trigger, and Record Owner will target the primary Staff member responsible for the originating record (usually a Matter). Additionally, we can specify which Calendar we want to add the Event to. Click Next to continue.
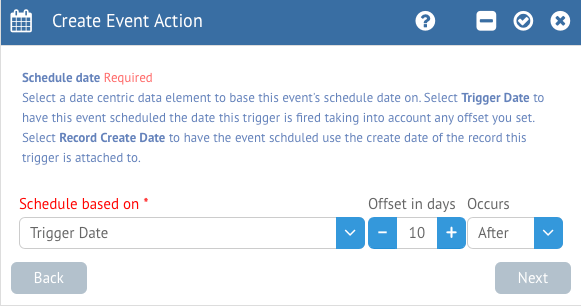
Next, we need to set a Schedule Date. The Event trigger action uses an offset to determine the date for this task. First, select a base date from the “To be completed on” field. This can be set to a number of options:
Trigger Date: The base date will be set to the date and time on which this trigger action was activated.
Record Creation Date: The base date will be set to the date and time on which the originating record (usually a Matter) was created originally.
Intake Date: The base date will be set to the date and time on which a Matter was created via the Intake feature. Note: This should only be used for legacy Matters created in 1.9 and lower.
Key Date: The base date will be set to the specified Key Date. Key Dates can be set up in Customize Mode in the Fields section.
The Offset is the number of days before or after the selected date the Event’s schedule date will be set. You can specify which direction the offset is going in the next field. When you are ready, click Next to proceed.
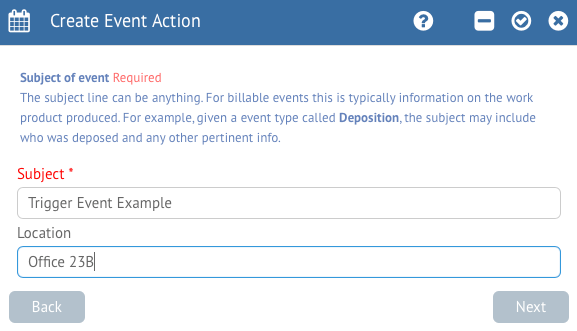
Next, we can specify a Subject and Location. The Subject is going to be how the Event is identified in the system, other than the Type. You can think of it as a quick description of what is going on. The Location is optional and can help provide information on where this event will take place. Once finished, click Next again.
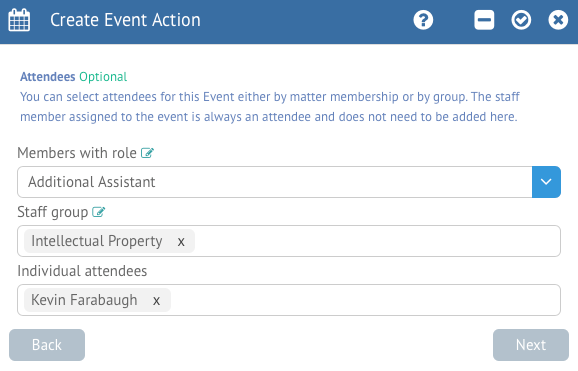
Next, we have the ability to assign the Event to various Staff as Attendees based on their Member Role, Staff Group, or simply a specific person. We can also choose who assigned the Todo as well. Selecting a Role from the Member section will assign the Event to whichever Matter Member is selected for that role, and Group will allow you to assign a Event to an entire Staff Group as Attendees. Each assigned Staff will receive information about this Event in their Activity Dashboard and be able to see the Event on their calendars.
Once you are finished with setting your Event options, click the checkmark at the top right of the form to Save. Clicking the minus (-) button will remove the trigger action altogether.