In this article, we will walk you through the basic steps on getting started designing your own Business Intelligence Reporting Tools (BIRT) custom reports for HoudiniEsq. Keep in mind that a baseline of SQL knowledge will be necessary to continue, and that this is for advanced users only.
First, we need to download and set up the BIRT Report Designer and its required packages. The following steps will detail how to do so.
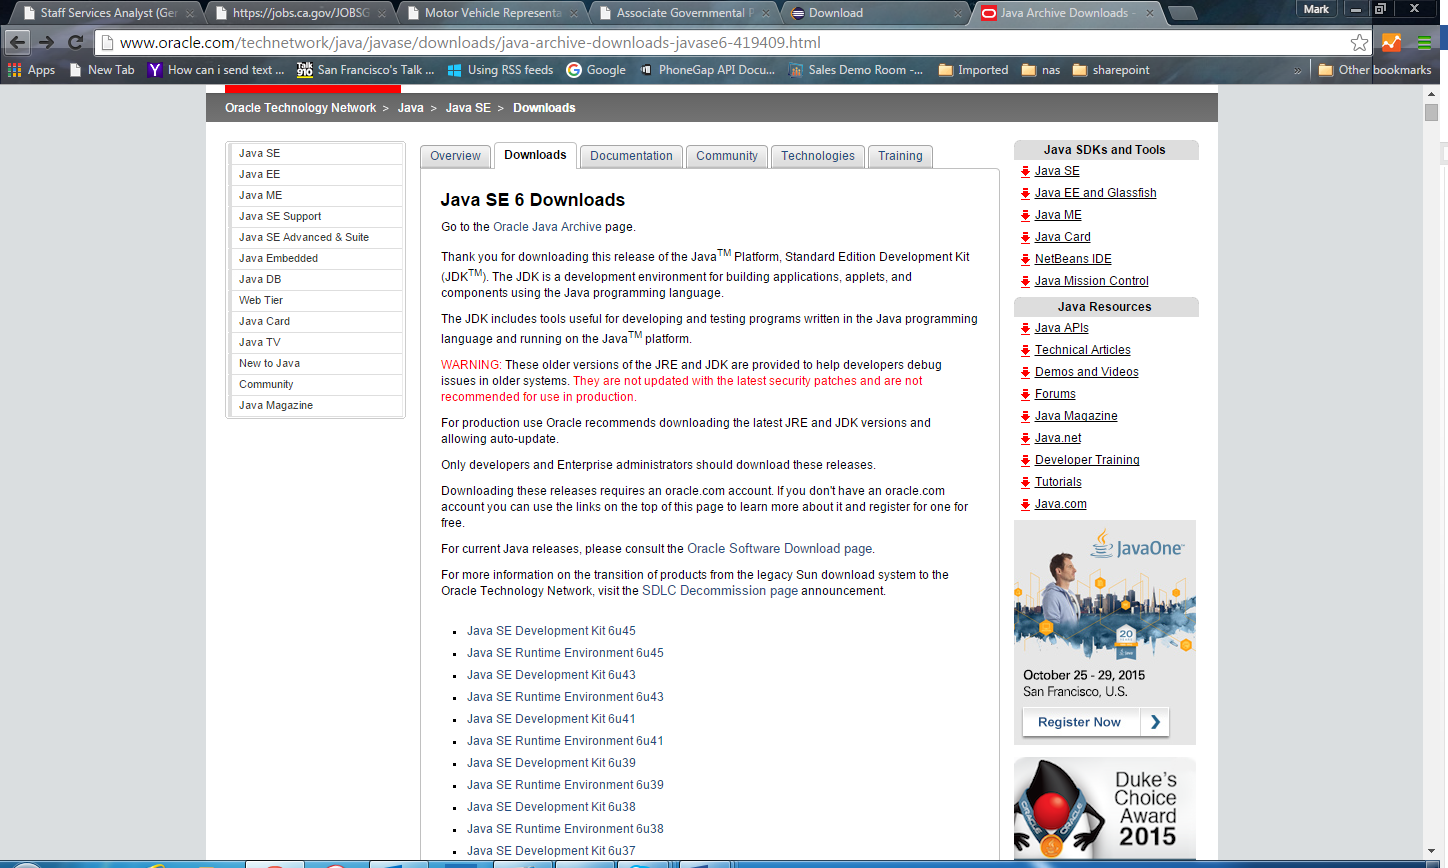
- Download the Java 7 SE or higher package for your operating system and install.
You should pick the link which is appropriate for your platform and flavor of operating system. When in doubt, most OSes are currently best served downloading the 64-bit variant of Java.
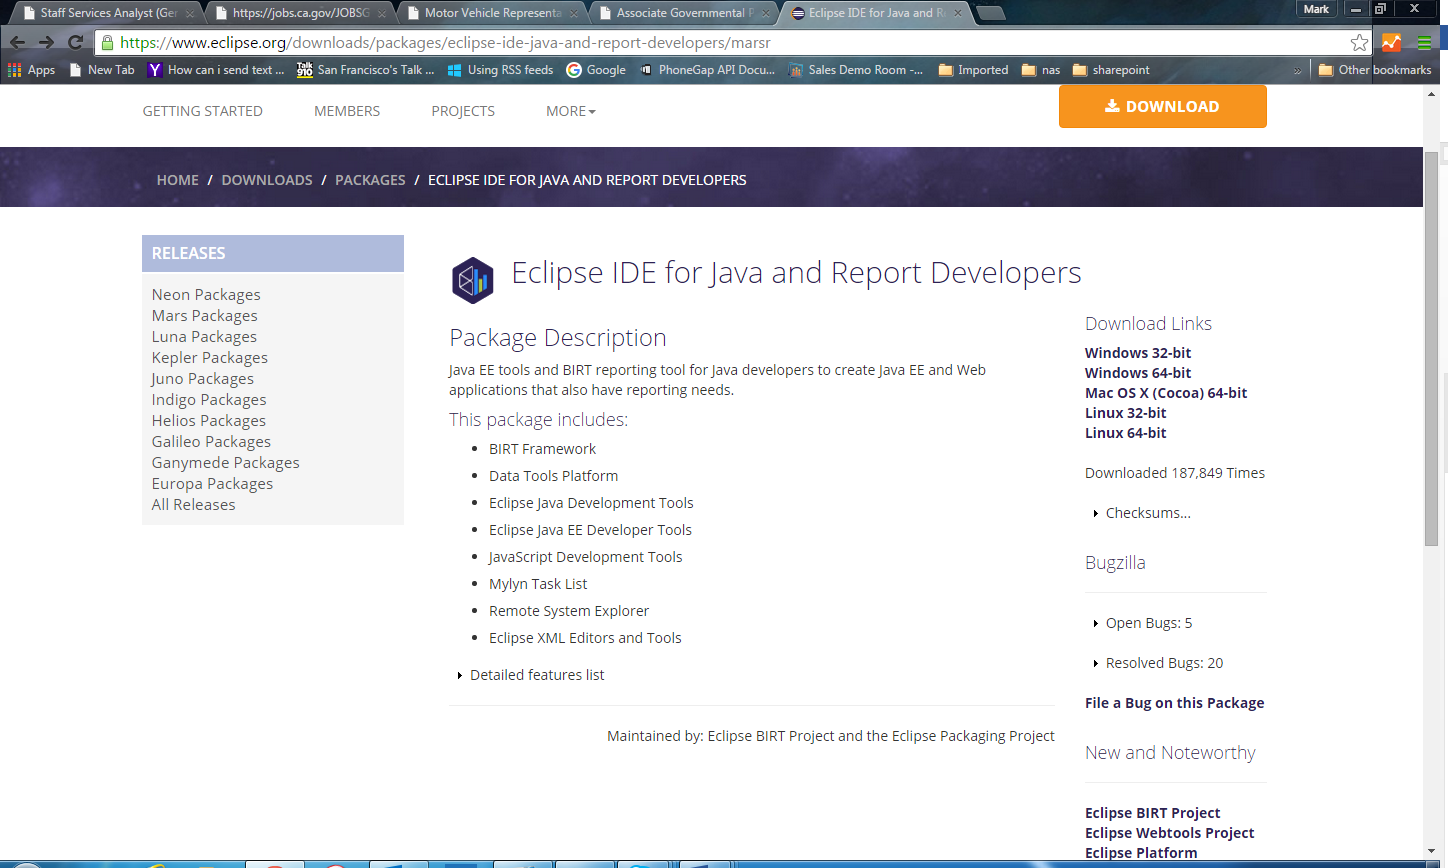
- Next go to BIRT to download and install the latest BIRT Designer from Eclipse.
- The most important fact you need to understand and follow is that the HoudiniEsq database should never be accessed by anything but the HoudiniEsq program. That means that even if you want to develop a BIRT report to pull data from the HoudinEsq database, it must neverpull data from the Live HoudiniEsq database – ALWAYS MAKE A COPY FIRST! (Then design and test your report using the copy of the data. When the report functions as desired, upload the report and do a final test from within HoudiniEsq.) For those of you working with the SaaS version, you must have admin rights so that you can see the various types, subtypes and status codes, as well as be able to edit the report manager.
- Once you have a copy of your data you can now open the BIRT IDE and start creating reports.
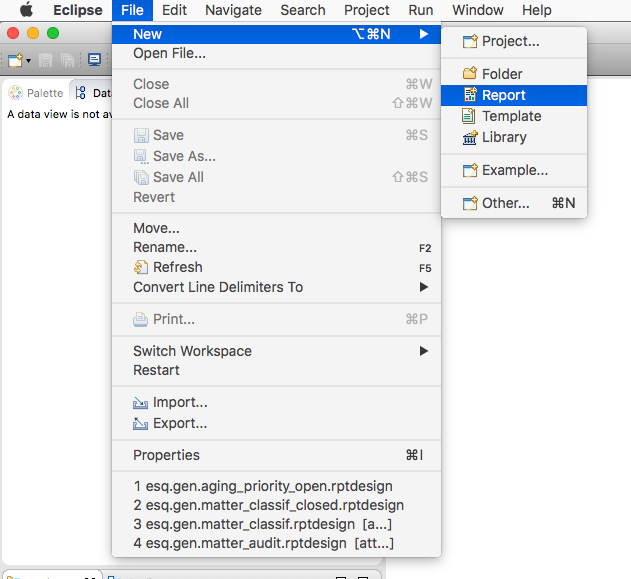
First Click on File -> New-> Report
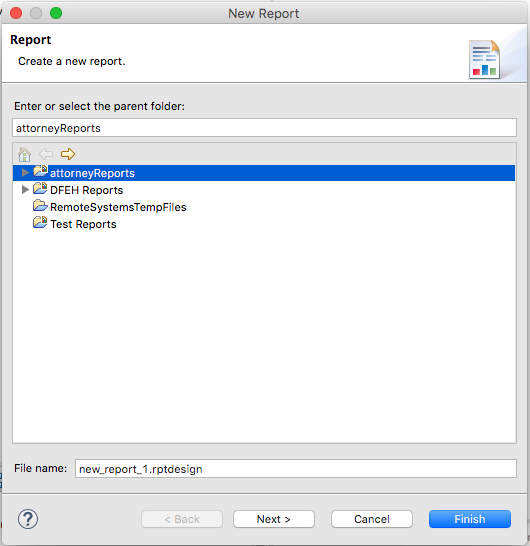
Next select a folder for your report and give it a name (Note: .rptdesign must be included in the file name).
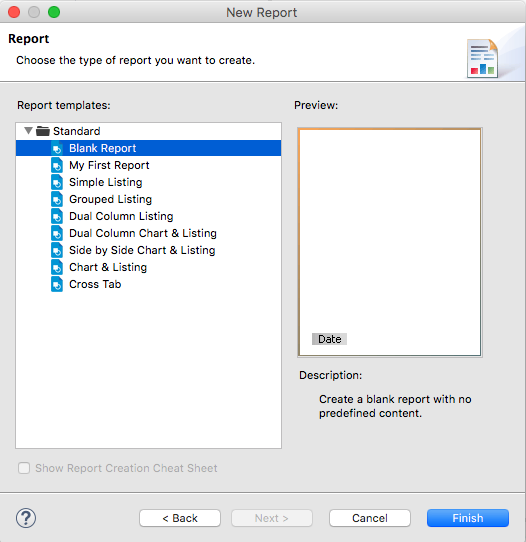
Finally select the type of report you want. For this example we will select the ‘Blank Report’ option. Then click ‘Finish’.
Creating Data Sources
In order to access your data so you can test your report, get a listing of the HoudiniEsq tables and table columns, and for the report to work once uploaded into the HoudiniESQ system you must first create a data source. To create a new data source right click on the ‘Date Source’ folder and click ‘New Data Source’ then select the ‘JDBC Data Source’ option and then click ‘Next’.
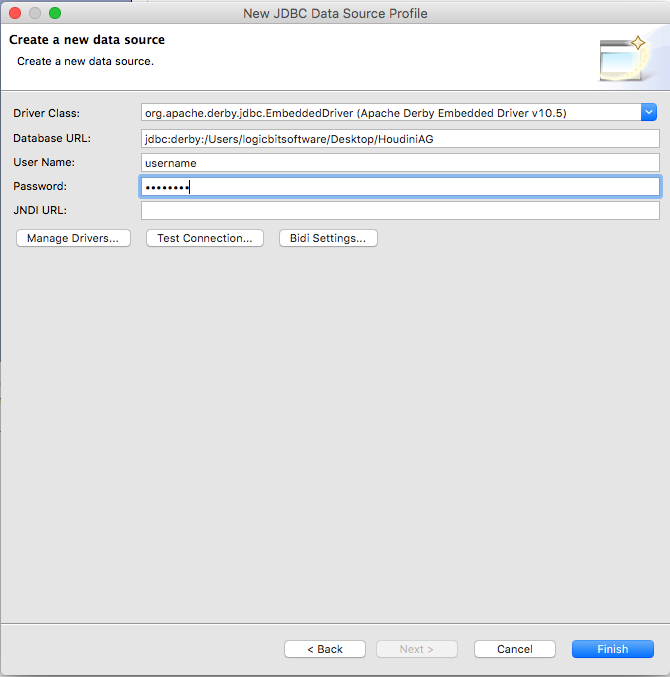
- Next select the Apache Derby Embedded Driver from the Driver Class dropdown
- In the Database URL field enter (without quotes) ‘jdbc:/path/to/your/dbcopy’
- In the User Name field enter a user that can connect and query the database
- Then finally that users password in the password field. Click the ‘Test Connection’ button and you should receive ‘Database Connection Successful’ message. Then click ‘Finish’.
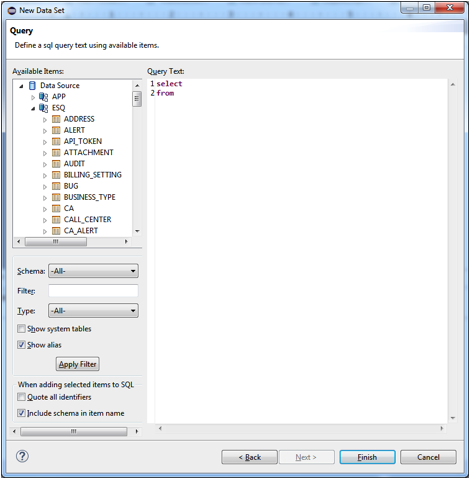
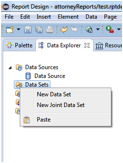
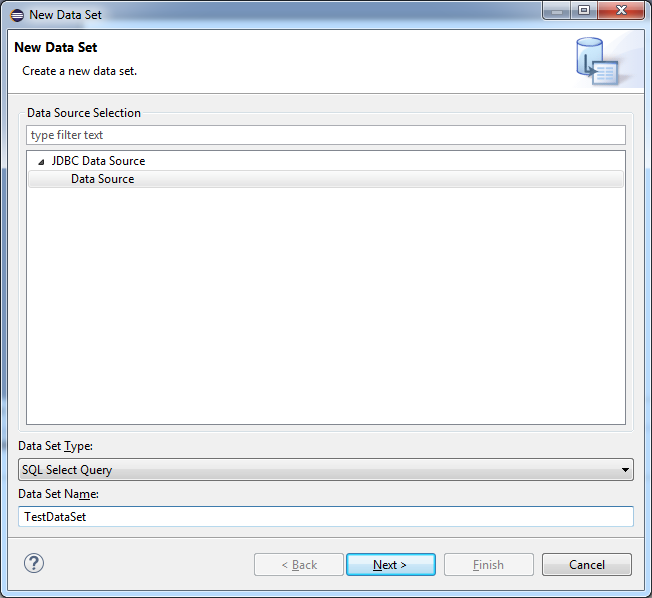
Right click on the ‘Date Sets’ section and select ‘New Data Set’.
A ‘New Data Set’ wizard should appear. At the bottom of the wizard give your Data Set Name a unique name. Then click ‘Next’.
The next screen will look like the one below. You will see a general query text section on the right and list of available schemas on the left. The only schema that you will work in is the ESQ schema. When you expand the ESQ option you will see a list of tables. Once you are done creating your sql statement just click ‘Finish’. BIRT will do a syntax check on your sql statement and alert you if there are any errors.
NOTE:
- Derby SQL is a little different then MSSQL, especially with default system functions, so we recommend this site as a starting point for some of the difference: https://db.apache.org/derby/docs/10.8/ref/
- All datetime in HoudiniESQ is stored in Unix EPOCH (milliseconds since Jan 1st 1970). So some BIRT/Javascript date conversions will have to take place if you want to view date data in a friendly fasion.