
 Create Todo
The next action that is listed from the left is the Create Todo action. This will allow you to send a todo to a specified Staff, Matter Member or Staff Group. Automatically generated Todos will be displayed in the Todo panel of the Matter as well as the Activity Dashboard. Select this action to add it to the trigger.
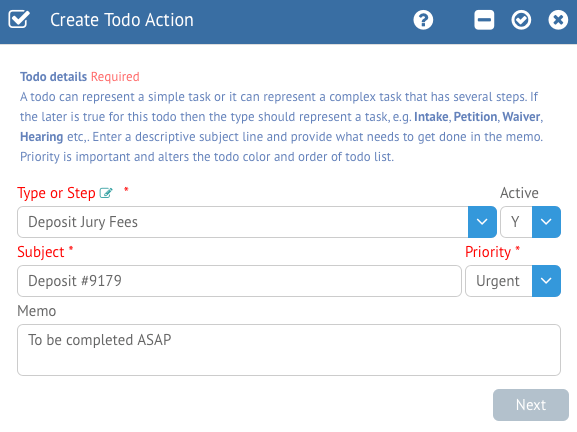
First you will be asked to select the Todo type. As always, you can add a new Type as an administrator by typing in the name of the desired type and pressing Enter. You also have the ability to toggle the Trigger Action between Active and Inactive as well.
Next, we will need to add a Subject and Priority. Recipients will need at least a Subject to discern the content of the Todo, and the Priority will let them know how important this particular task is. You also have the option to add a Memo for more detailed instructions. Once ready to move on, click the Next button.
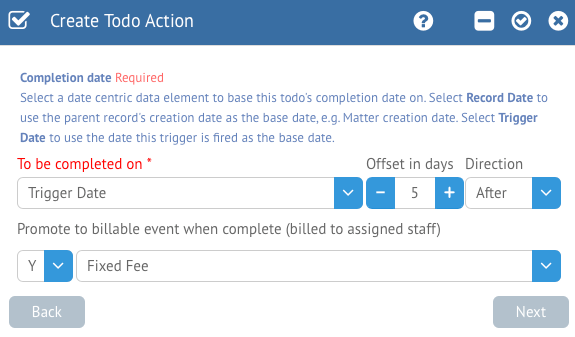
Next, we need to set a Completion Date. The Todo trigger action uses an offset to determine the due date for this task. First, select a base date from the “To be completed on” field. This can be set to a number of options:
Trigger Date: The base date will be set to the date and time on which this trigger action was activated.
Record Creation Date: The base date will be set to the date and time on which the originating record (usually a Matter) was created originally.
Intake Date: The base date will be set to the date and time on which a Matter was created via the Intake feature. Note: This should only be used for legacy Matters created in 1.9 and lower.
Key Date: The base date will be set to the specified Key Date. Key Dates can be set up in Customize Mode in the Fields section.
The Offset is the number of days before or after the selected date the due date will be set. You can specify which direction the offset is going in the next field. Finally, you have the option to promote the Todo to a billable Event when it is marked as Completed. The next field will let you specify the appropriate Type for the resulting Event.
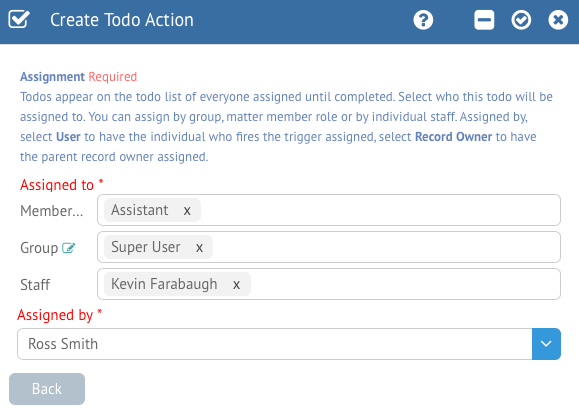
Next, we have the ability to assign the Todo to various Staff based on their Member Role, Staff Group, or simply a specific person. We can also choose who assigned the Todo as well. Selecting a Role from the Member section will assign the Todo to whichever Matter Member is selected for that role, and Group will allow you to assign a Todo to an entire Staff Group. Each assigned Staff will receive their own individual Todo task record which is independent of other assignments and will remain in the Activity Dashboard until completed.
Once you are finished with setting your Todo options, click the checkmark at the top right of the form to Save. Clicking the minus (-) button will remove the trigger action altogether.