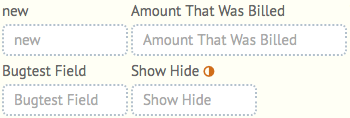
In this article we are going to discuss the Field portion of Customize Mode in greater detail. This is where you can add custom fields to HoudiniEsq 2.0 as well as modify or change the labels on existing fields.
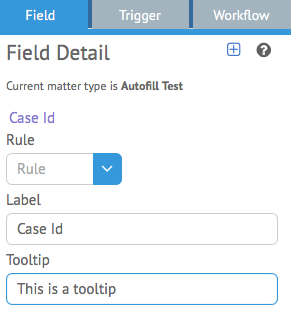
After switching into Customize Mode, you will be able to select a current field to make changes to it by left-clicking on it. After doing so, you will be able to apply a Rule (such as whether you want it to be Required or Hidden), change the Label (or display name) and add a tooltip. To add a new Custom Field, click the (+) icon.
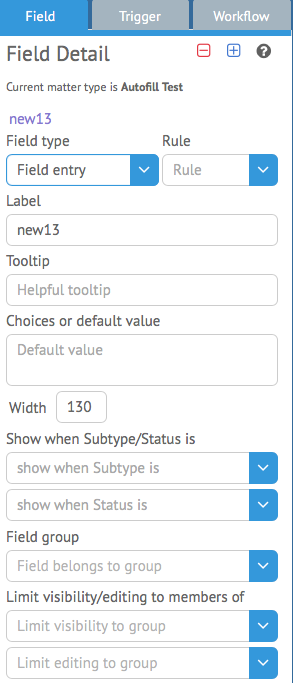
When creating a new custom field, first you must define the Field Type. This is the type of entry that the field will accept. There are multiple options available:
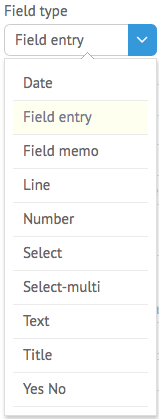
Date: This will allow the field to accept Date input.
Field entry: This will allow the field to accept any kind of input up to a maximum of 64 characters.
Field memo: This will allow the field to accept any kind of input up to a maximum of 4000 characters. Use this when Field Entry does not allow for enough input.
Line: This will allow you to place a horizontal line on the form. Use this for formatting.
Number: This will allow the field to only accept numerical input.
Select: This will allow the user to select a single result from multiple possible options. This was previously referred to in HoudiniEsq Classic as a “Dropdown” field and operates the same way.
Select-multi: This will allow the user to select multiple options from a list of values. This was previously referred to in HoudiniEsq Classic as a “multi-check” field.
Text: This will allow you to simply display text to a user.
Title: This type of field is used to display larger-than-normal text, for different parts of a form, or used as a Title.
Yes/No: This is a replacement field for the standard “Checkbox” in HoudiniEsq Classic. This will be used to display a simple Yes or No value to the user for them to select.
Additionally you can define a Rule (such as Hidden or Required) and a Tooltip for the field you are attempting to add.
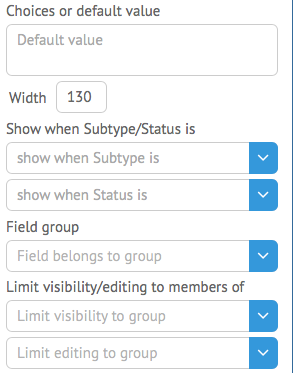
You can also specify a Default Value for the field. If you are adding a Select or Select-multi field, this is where you will place your selection values. You can also specify the field Width on the form.
The boxes below will let you limit the field to a certain Subtype or Status Code, add it to a field group (for Show/Hide Trigger action) and limit the visibility and edit privileges of the field.
Once the field has been added, you can also drag and drop it to a different location on the field with your mouse. Hold down your left mouse button and drag it to the desired location on the form. Fields which are marked as Hidden will show up with a special icon as well.