
HoudiniEsq features two easy to use, real-time methods to record your time, the Task Timer and the Phone Call Timer. This article will walk through how to use both methods.
Task Timer
The Task Timer will allow you to multi-task in the HoudiniEsq system while still recording your time. You can start, pause and clear multiple timers at any time, and use the recorded time to create an Event record.

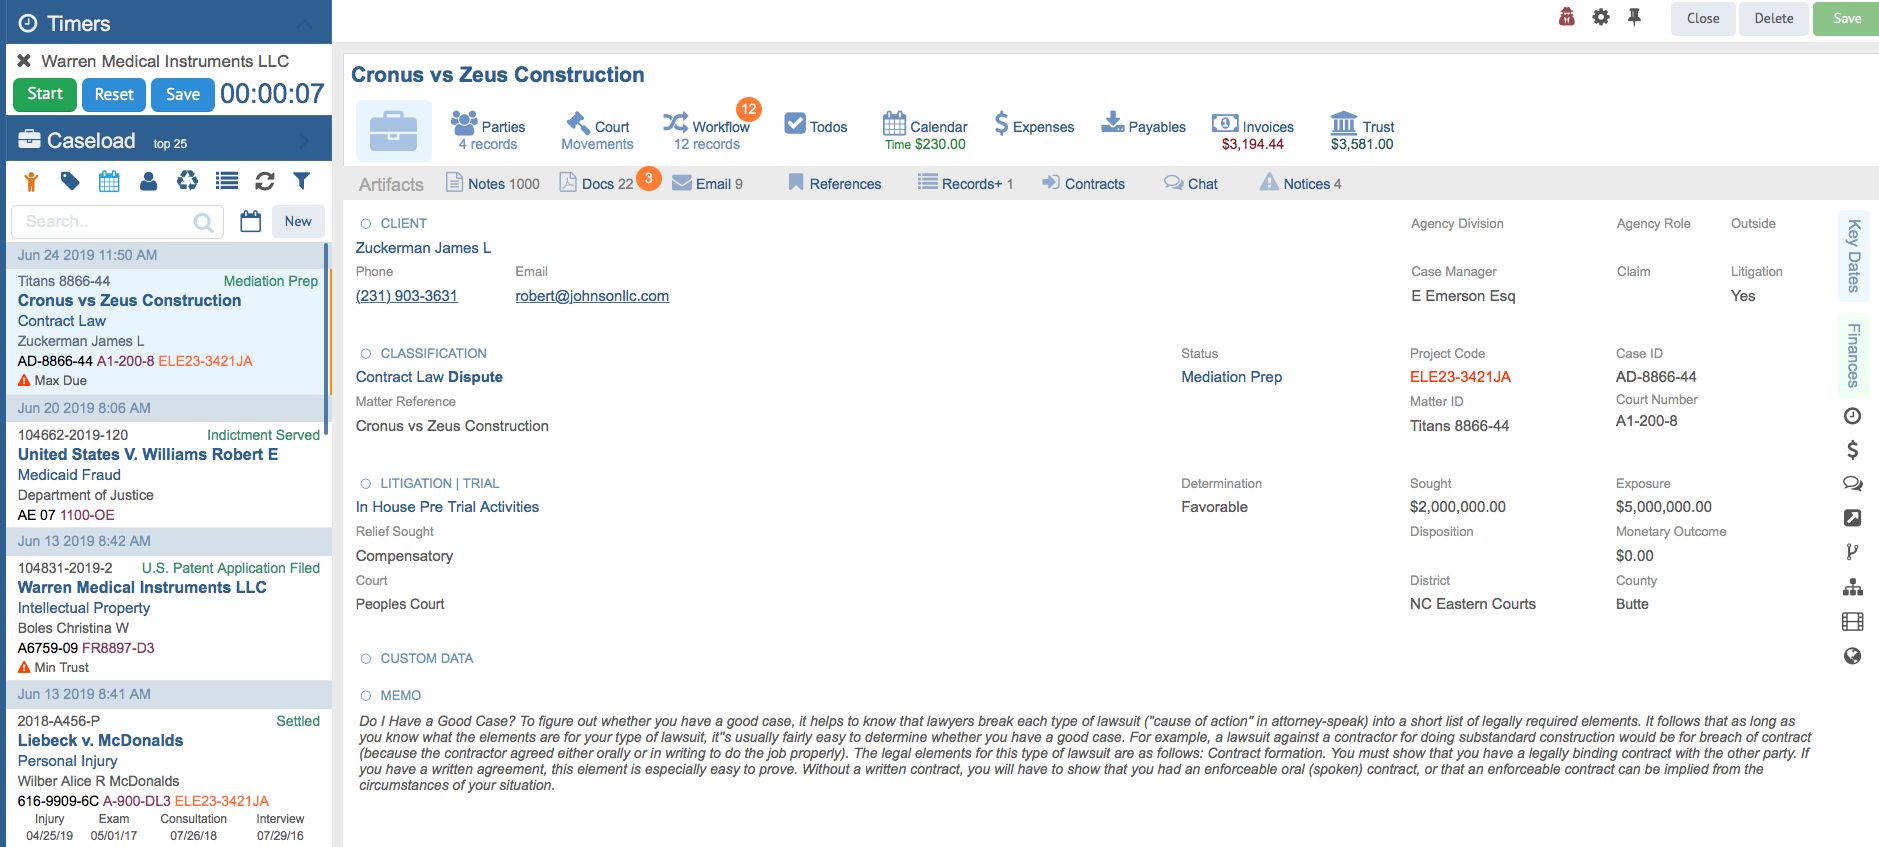
In HoudiniEsq, the Task Timer feature can be found at the top-right of the screen, as shown above. Clicking the icon shown above will open the Add Timer window.
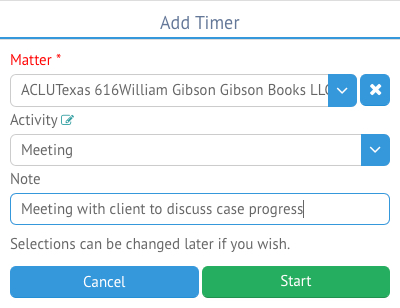
From here, you can link the timed Event to a Matter, select a Type for the timed Event, and add a Subject. Keep in mind these initial selections can be changed later if you wish. Once ready to start the timer, click the Start button. You can click Cancel to close the window and simply return to the main dashboard at any time.
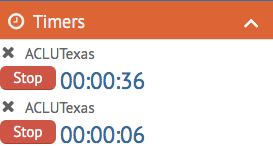
The Timers section at the top left of the screen will indicate that you are running an Event timer for the specified Matter. You can collapse this section using the ^ icon at any time, or click Stop to pause the current timer.
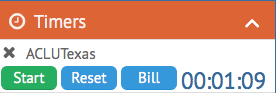
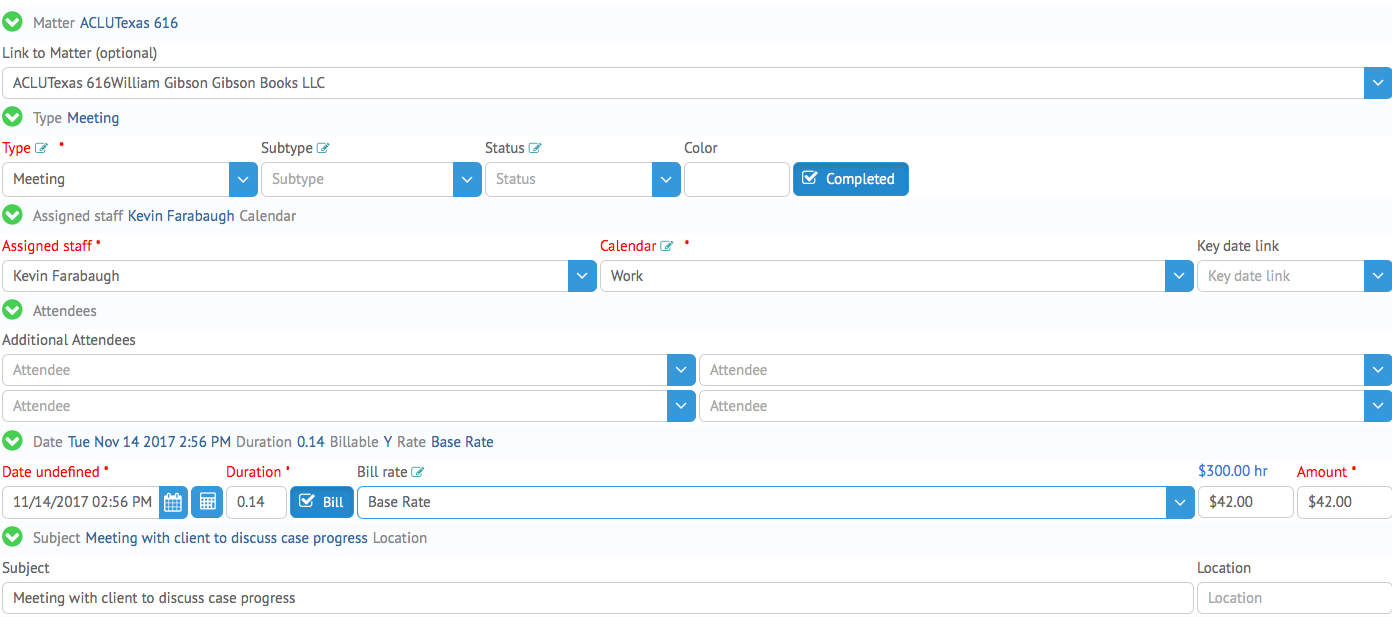
When paused, the Stopwatch will display several new options. The green Start button will resume the timer, and Reset will set the timer back to 0:0. Clicking the Bill icon will create a new Event using the information you recorded while setting up the timer along with the recorded time in the Duration window.
Additionally, you can start multiple Timer entries by clicking the Stopwatch button again. These timers can both run simultaneously, or one can be paused while the other is running to toggle between tasks. This is useful if you need to track time for one task and then need to take on another suddenly. The tasks can also be assigned to multiple Matters.
The Timer allows you to multi-task effectively, replacing the need to open and time multiple Event windows. Additionally, the Multi-timer interface window will continue to function even when switching to a different section of HoudiniEsq, such as the Calendar or Reports. Overall, the Timer allows for seamless time tracking from dashboard to dashboard, so it should be utilized as much as possible to create accurate billable entries as needed.
Phone Call Timer
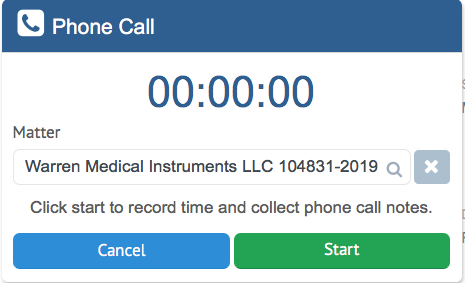
The Phone Call Timer allows for more detailed input for your timer, providing you with a Memo field to type any notes taken during the call. To start a Phone Call timer, click the Phone icon at the top of the interface as shown below.

The Phone Call Timer will allow you to link a Matter, at which point you can click Start to begin tracking time. You will notice you have much less to enter initially when starting a Phone Call Timer, to more quickly get you on track to recording your time and notes.
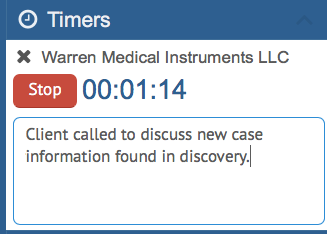
Once you start the phone call, your will notice a timer at the top right of the screen. This timer, however, allows for entry of notes while viewing Matter information. This allows you to enter in phone call data while providing case information to your client.
Similar to the Task Timer, you can pause the timer by clicking Stop at any time. To bill for the phone call, click Save. Reset will set the current timer back to zero, and clicking the X will cancel the phone call timer altogether.
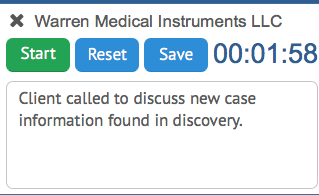
You will also notice that all information entered in the notes box will go into the Memo of the resulting Event, which will automatically be assigned as a Phone Call. Additionally, the name of the Staff Member who recorded the call will be noted in the Subject.
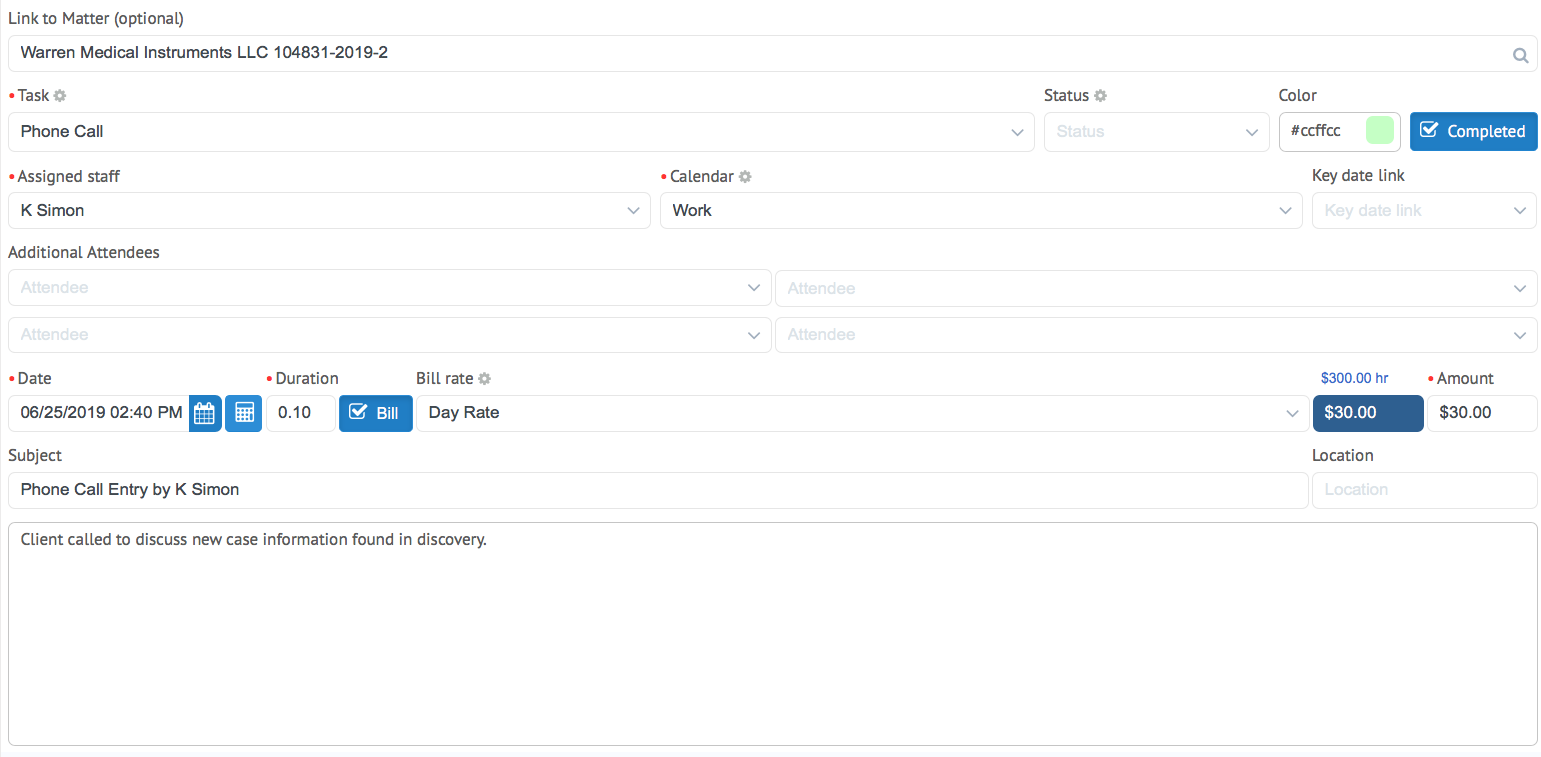
You can now add additional Staff as attendees, as well as change your billing rates and adjust the time spent. Once finished, press the Save key to commit your changes.