
In this article, we will show you how to set up and use Matter Docketing in HoudiniEsq via Calendar Rules. Matter Dockets allow you to schedule specific dates, deliverables and appearances required by your Court based on a specific key date. These important dates are added as Events to the Calendar, and can have alerts and notifications attached to them as well. This is known as rules-based calendaring, and allows you to protect your firm from missing important deadlines.
Matter Dockets require you to set up a subscription to the CalendarRules service. For more information, visit CalendarRules on the web.
Setting Up CalendarRules
To set up CalendarRules, simply go to the Settings Dashboard and click the CalendarRules option.
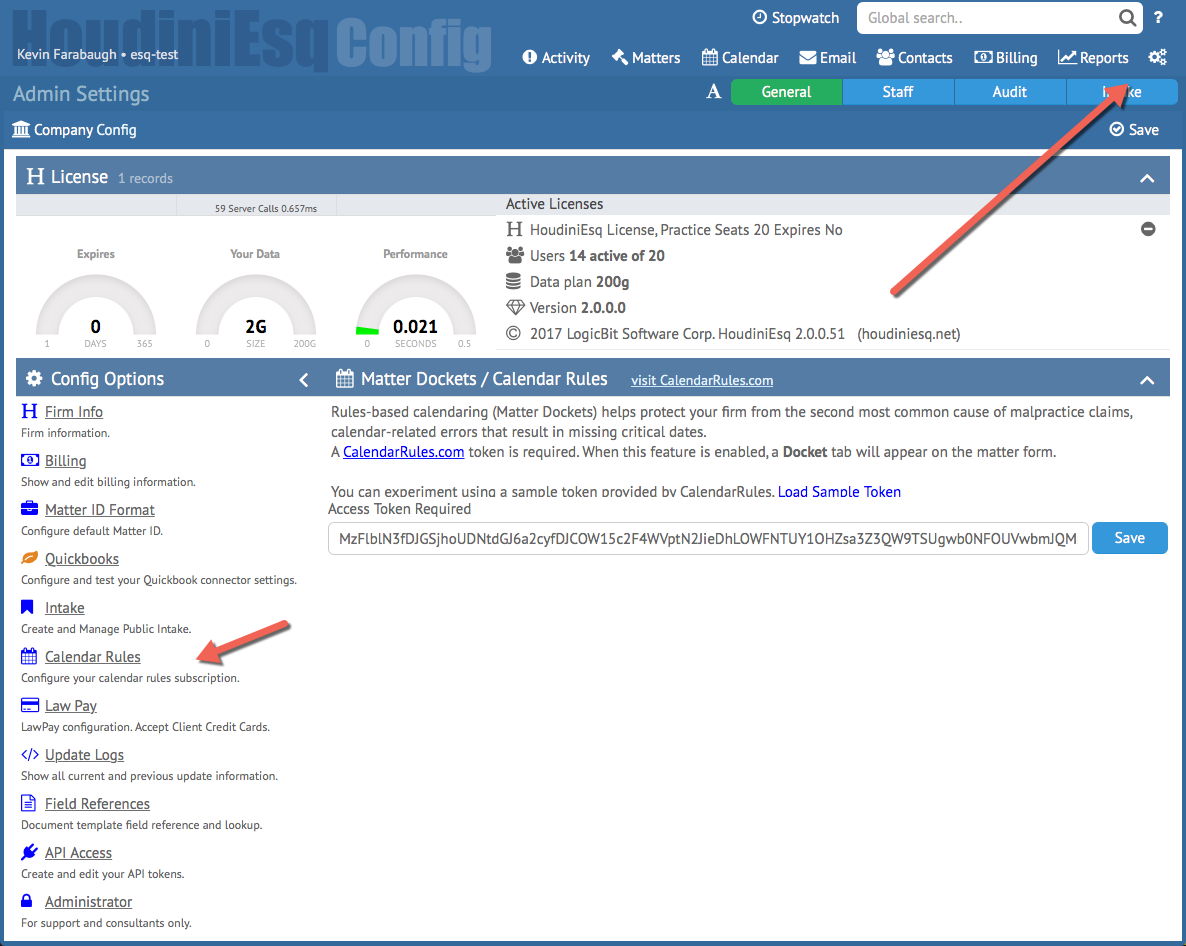
Then, copy and paste your provided CalendarRules token into the Access Token field and click Save.
A “test” token is provided with every new HoudiniEsq instance, which only works for Alameda County in California. This test token can allow you to preview the feature, as shown in the image above.
Creating A Docket
Once CalendarRules is set up, you can create a docket by selecting a Matter, then clicking Events and clicking the Docket tab that appears after enabling the feature using the step above.
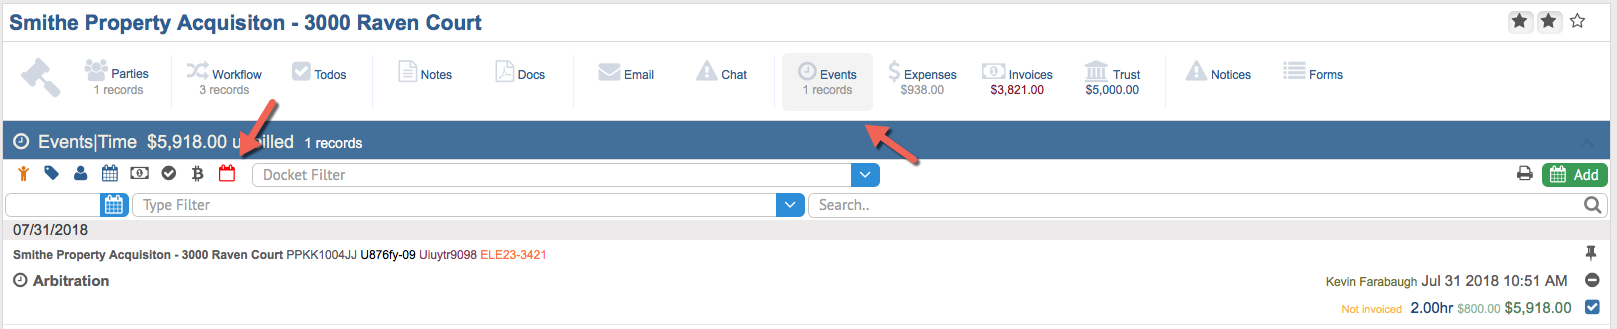
Clicking the “Add” button will open up the New Matter Docket wizard.
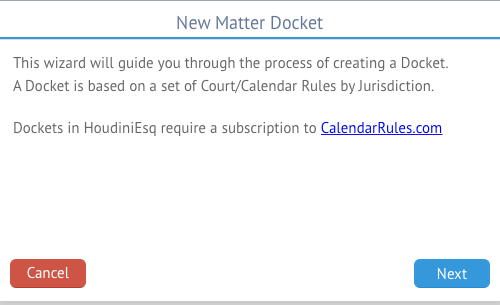
New Matter Docket Wizard
The New Matter Docket Wizard will provide you with a series of steps to create your docket and add the events to the HoudiniEsq Calendar, based on the selected Key Date, Key Task, Jurisdiction and other information. Click Next to proceed.
The next step will allow you to provide a name for your Docket. This name will be used for filtering Events, and will allow you to find all Docket-related scheduling by simply searching for it.
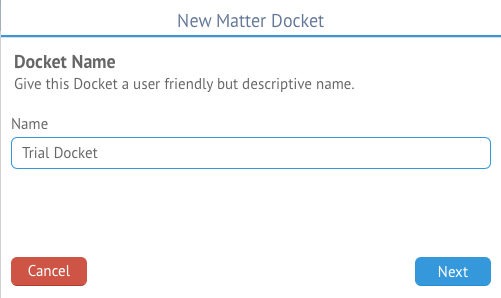
Enter a Docket name and click Next to proceed. We will now be asked to select our Jurisdiction.
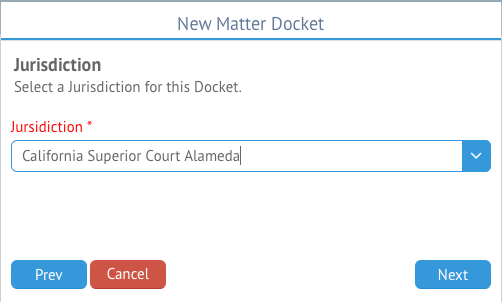
The Matter Docket Wizard will automatically display all selections relevant to your court district (which is specific to your CalendarRules token) in the drop down box. Select the one which is the best match for you, and then click Next. Note: the test token only works properly when selecting “California Superior Court Alameda.”
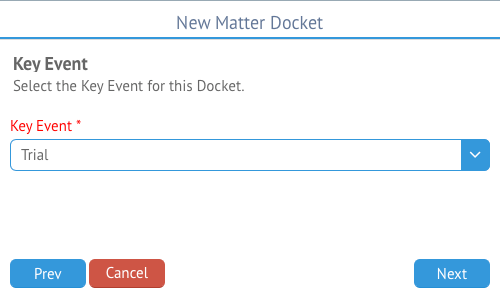
Next we will be asked to select a Key Event for the docket. The Key Event is typically the specific important event which we are creating the docket around, such as a deposition or trial. This Key Event will dictate which docket events are created. Select a Key Event from the dropdown list, and click the Next button once again.
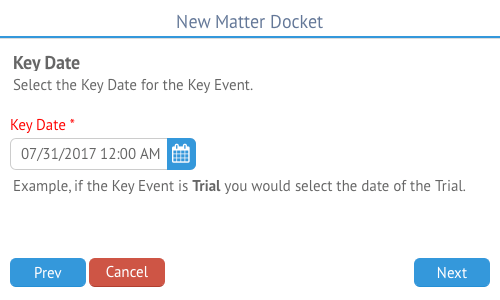
We will then need to select a Key Date, which is the date and time on which your Key Event is going to take place, In the Trial example we give above, you would select the date of the actual trial. This will then allow HoudiniEsq to schedule all docket events according to that date. Click Next to continue.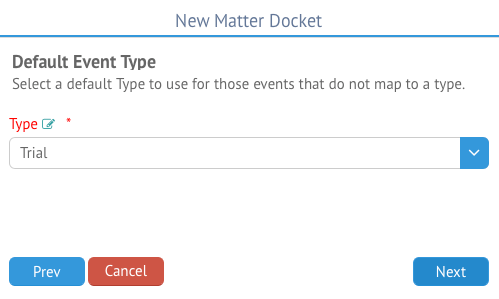
Select the default Event Type for docketed Events. If HoudiniEsq finds an appropriate match (in this case, Trial) then it will be selected automatically. Certain docket Events will already have automatically assigned values as well, depending on the specific task in the docket. Once satisfied, click Next.

You can now select the Calendar you wish the docket events to be added to. This will of course default to the Work calendar. Click Next once ready to proceed.
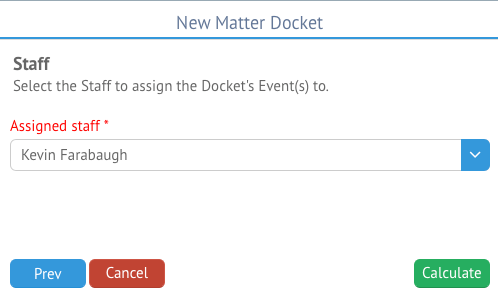
Next, select the Staff member who will be assigned to the docket Events. This is the Staff who will assume billing credit as well as responsibility for each Event and will receive any Alerts.
Clicking the Calculate button will create a series of potential Events for review, based on the Key Date, Key Task and Jurisdiction selected in the previous wizard steps. Modifying one of those values by clicking the “Prev” button will change the results of the calculation. Once you are ready to proceed, click Calculate.

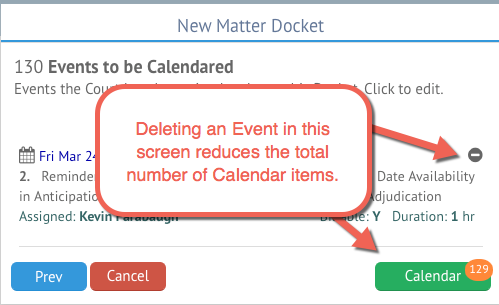
The number of Events to be added will appear at the top and on the Calculate button, based on the criteria of the docket and court rules. You can scroll down with your mouse wheel to preview each of these potential Events. If you are satisfied with the displayed dates and entries, click the Calendar button to add them to the Matter/Calendar.
Editing/Deleting Events
You can also click an event date to edit that specific Event. If satisfied with the Events, click Calendar to create them. You can use the Prev button to edit any previous screens as well.
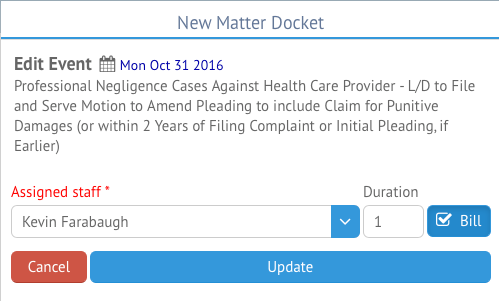
If you choose to edit an Event, you will be able to assign it to a different Staff, change the duration and billing preferences. Click Update to apply these changes.
Clicking the (-) minus next to an Event will remove it from the docket. Note that this will permanently alter the number of Events that will be calendared for the Docket, unless the user goes back to the Calculate step above. See the image below for an example.
Viewing and Filtering Docket Events
Once you have finished, your automatically created calendar dates will be displayed in the Events tab of the Matter. These entries with a specific red calendar icon to denote that they were created automatically through a Matter Docket.
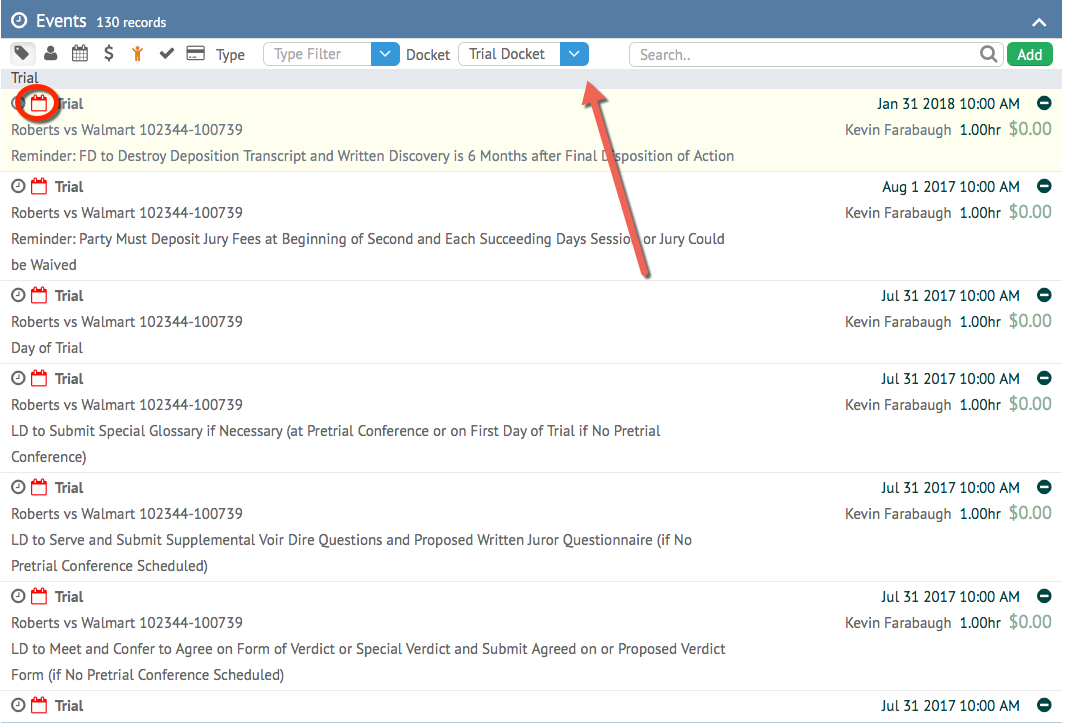
Additionally, you can use the Docket filter at the top of the Event tab to filter your Event list, only showing items related to the selected docket. Returning to the Docket tab in the Matter will also display the created set of court rules as well.
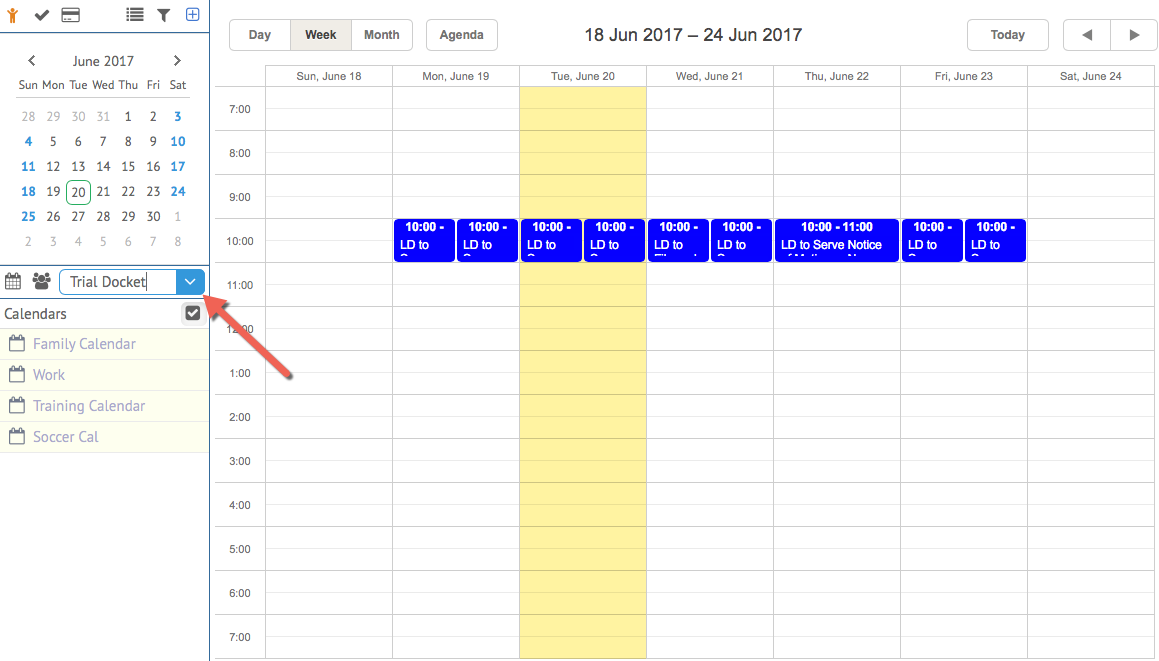
Docket Events will display on the Calendar as well, with another filter to allow you to specifically select all Events related to a specific docket item. This filter dropdown is noted in the image above.
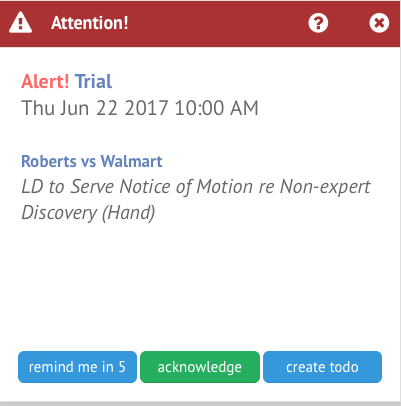
Each Event created by a Matter Docket will also generate an Alert. These will be displayed as the events are upcoming, and can be dismissed by click Acknowledge or followed up on by using the normal Alert options. Below is an example of one such alert.
Deleting A Docket

If you made a mistake creating the docket, deleting the item will allow you to undo your work if necessary. You can delete a Docket at any time using the (-) (minus) icon next to the entry. Doing so will prompt a confirmation box.
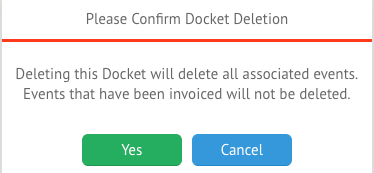
Be aware that deleting a docket will delete all associated Events which have not been invoiced. Clicking Yes will remove the docket and its calendar entries. Click Cancel to close this window.