
In HoudiniEsq version 119 and later, you will be able to enter in Matter and Contact information in Quick Entry, or Intake forms. The Intake form is designed to guide you through each step of the process, allowing you to create a Matter and associated Contact easily through a step by step process. These Intakes can also be activated via the Settings Dashboard to allow your potential clients to submit Intake forms as well.
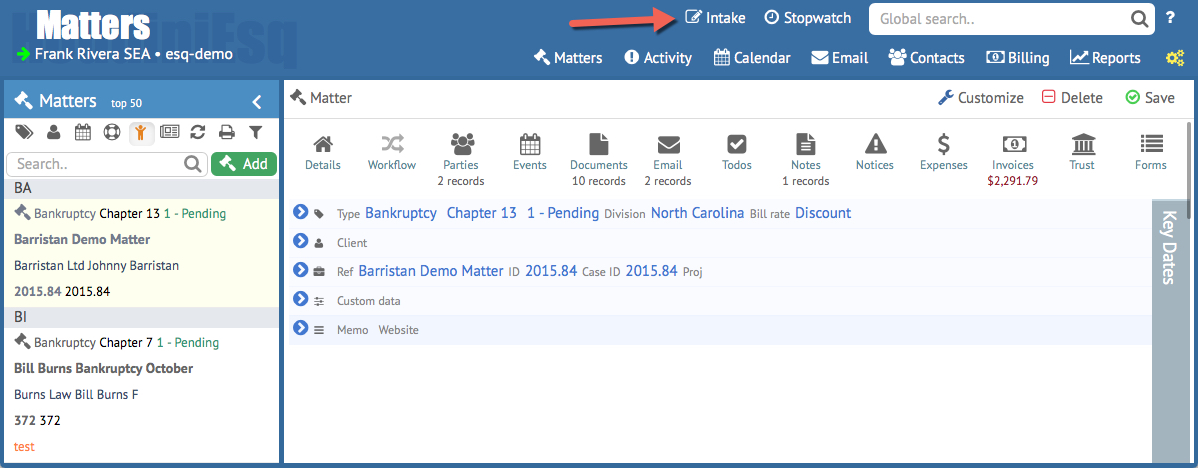
To use the Intake feature while logged into HoudiniEsq, click the Intake icon at the top of the screen as shown below. This will open the Intake Form.
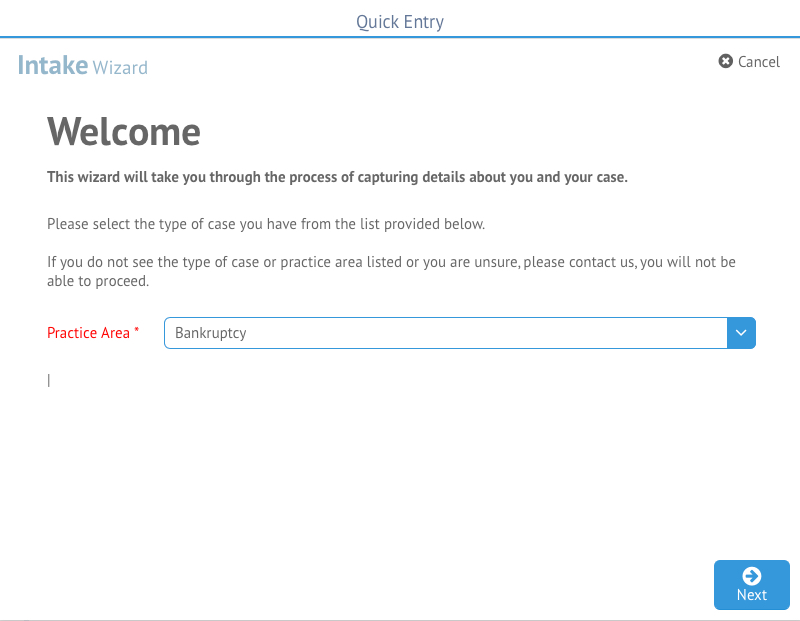
The Intake form will open, allow you to begin capturing details about the case you wish to open. Select a Practice area and click Next to proceed. The Practice Areas available are based on your Matter Type classifications.
Next, you’ll be prompted to enter contact information for the case client. This info sheet is similar to the Contact Form, so feel free to consult the linked KnowledgeBase entry for more information on Contacts.
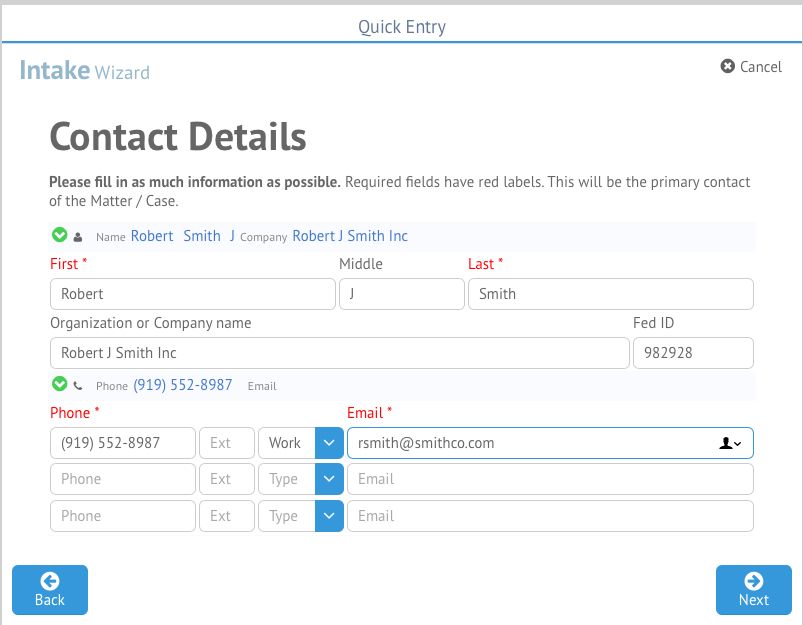
You will be able to enter a name, organization name, and up to 3 phone numbers and email addresses, as well as 2 street addresses. However, at least one phone number and one email address is required.

Once you are ready to proceed, click Next.
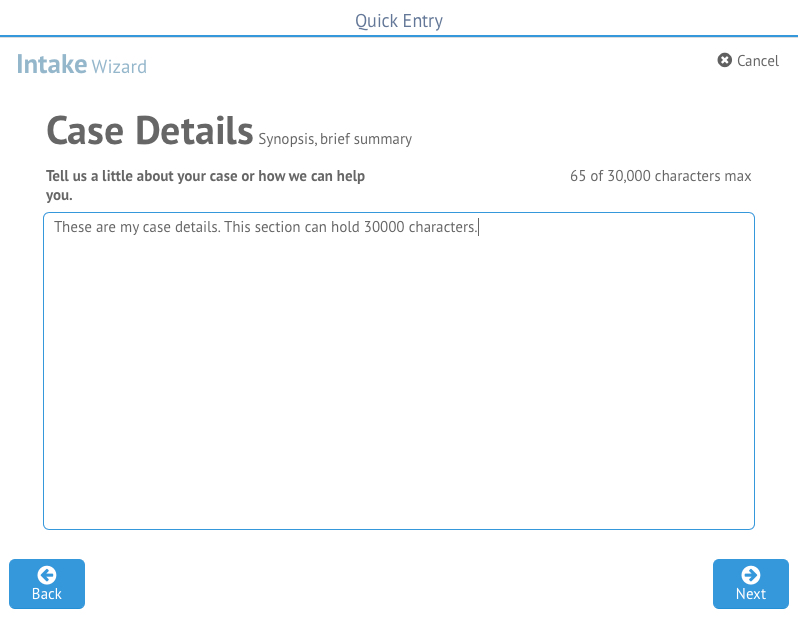
You will then be prompted to enter Case Details. Information entered into this section will go into the Memo field of the Matter which is created. Enter a description of your case (up to 30,000 characters) and then click Next to advance.
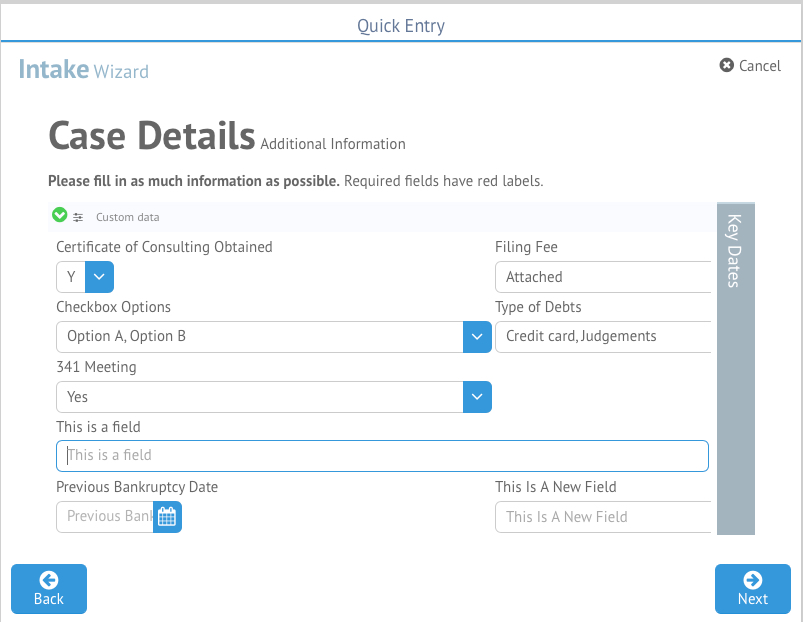
The Additional Information section of the Case Details is where relevant Custom Field data will be able to be filled out. The Custom Fields that will appear are based on the Type selected in the first section of the Intake wizard. For more information on adding custom fields, click here.
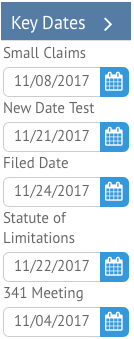
You can also add Key Date information by clicking on the panel at the right hand side.
Once you’re ready to proceed, click the Next button.
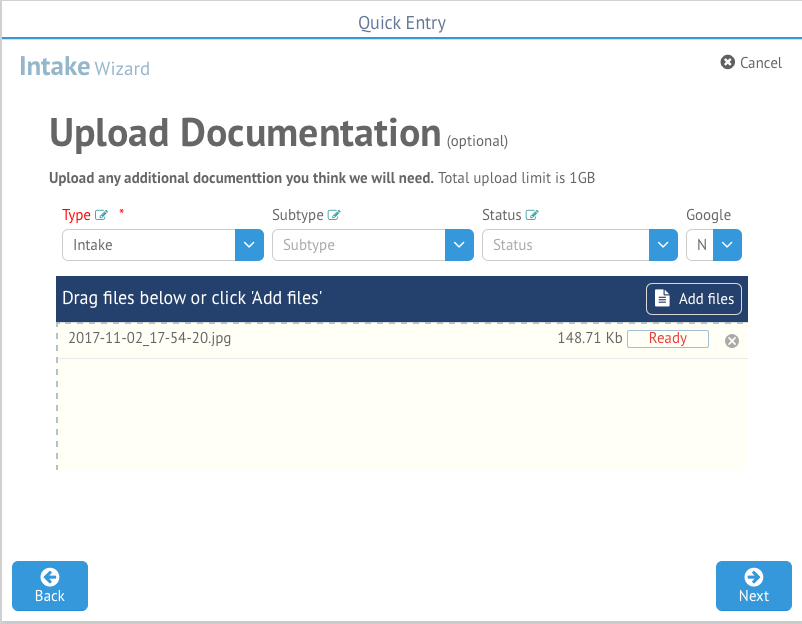
The next screen will allow you to upload documents. This process is similar to uploading documents to any other case in HoudiniEsq. Drag and drop any documents to the section in the middle (or click Add Files to add them manually), and select a document type (default selection is “Intake”) in the fields above. You can also specify whether you would like to upload a copy of the file to Google Drive as well. Any documents added will be uploaded when the Intake process is finished automatically. Once ready to proceed, click Next.
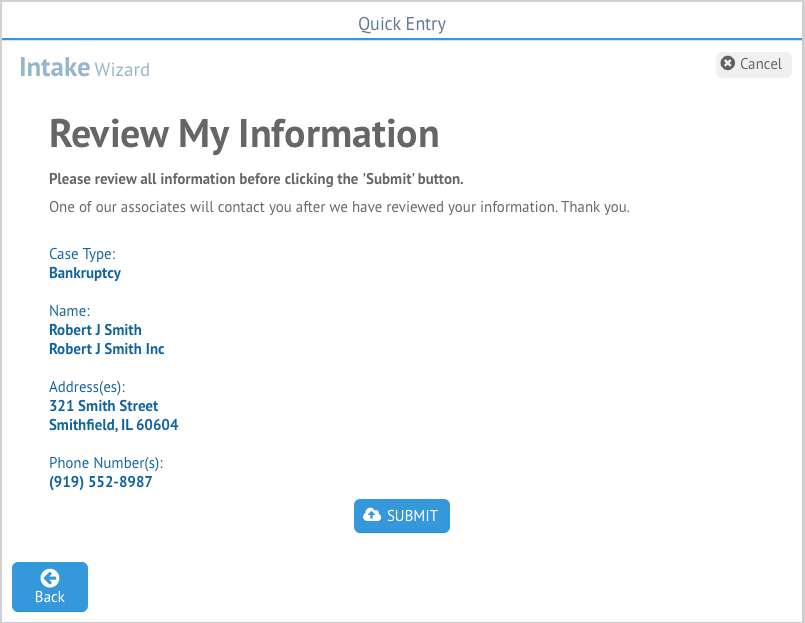
The final screen will allow you to review the information you previously filled out. If you would like to modify it before final submission, click the Back button to do so. Otherwise, click Submit to add the file to HoudiniEsq.
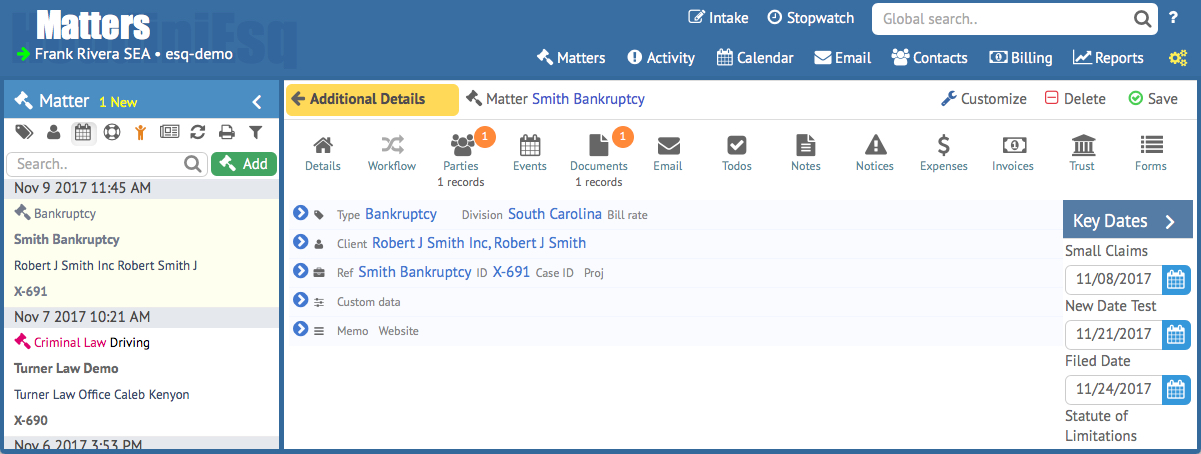
Your case will appear in the Matter Dashboard afterwards, ready to begin working on it.
Public Intakes
You can also activate the Intake feature for the public to access from the Settings menu. Click on the gear icon at the top right to access Settings, then click the Intakes section.
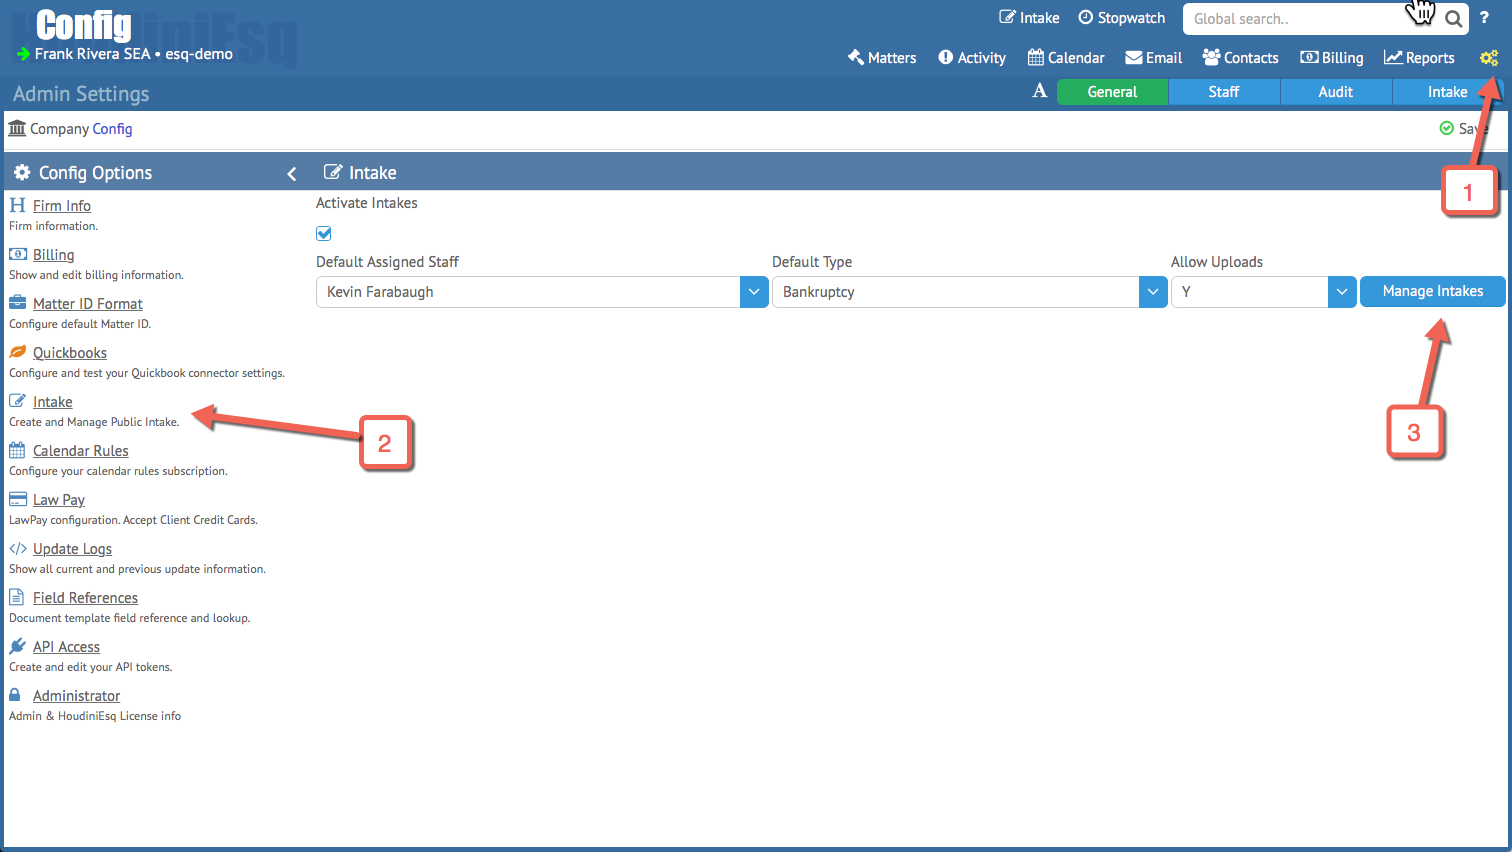
You can enable Intakes using the check box. Select a default Staff and Type for the intake, and whether you want to allow uploads from the public. To manage your current Public Intakes, click the Manage Intakes button.
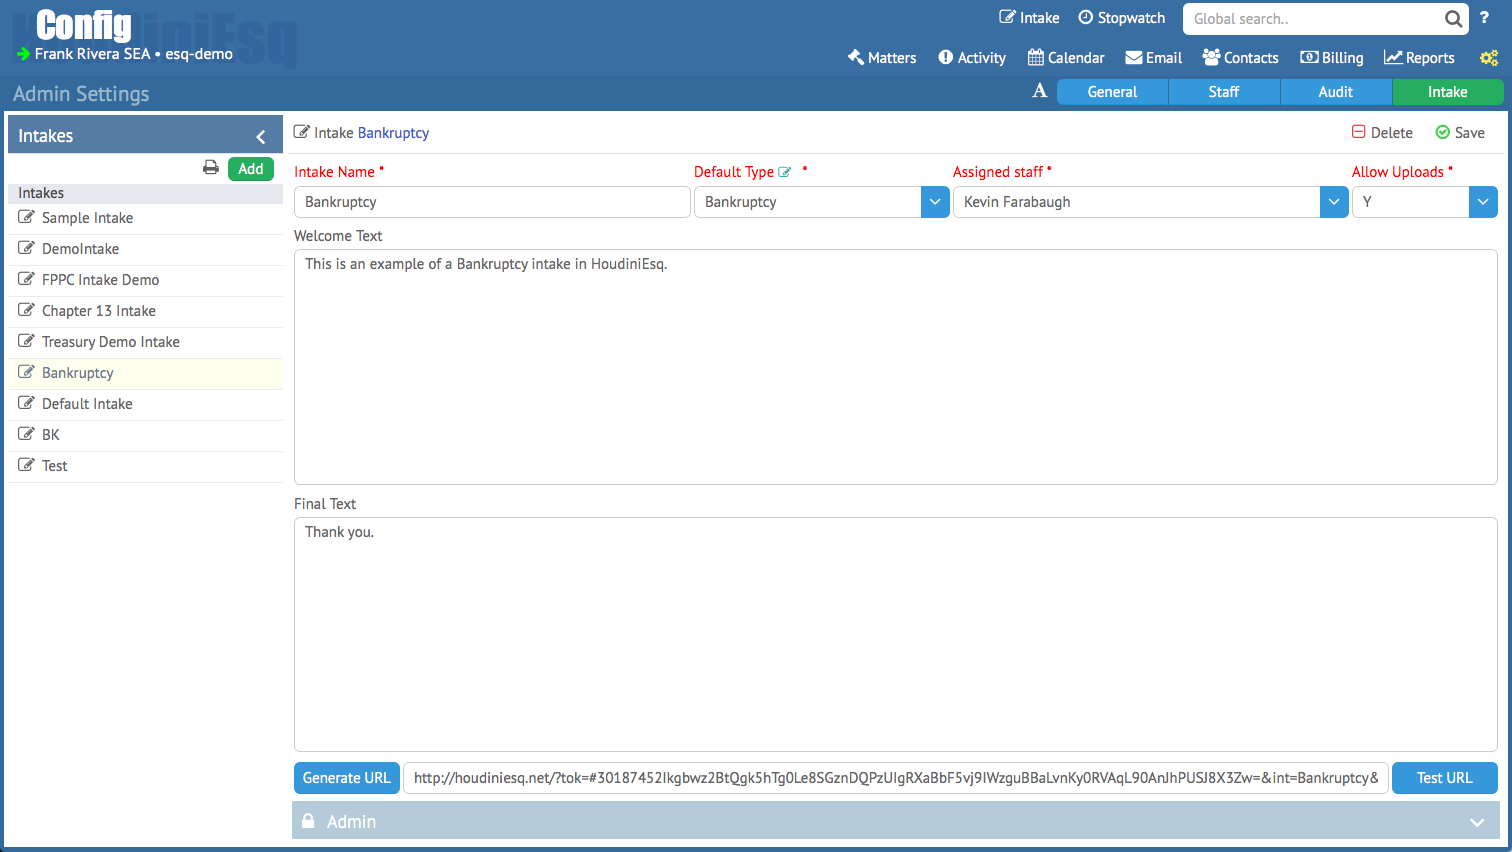
Add an Intake Type by clicking Add, then giving it a name, default type and assigned staff. Enter welcome and final text, and save the Intake. You can generate a URL using the button below which can then be used by the public to access the intake, or embedded into your website. For more info on Public Intakes, watch our demonstration video here.